 | It’s possible to set up an iPad account so that each email will appear to have come from the device from which it was sent. In this blog, I’m going to explain how to adjust an iPad’s email settings to make that happen. I’ll also show you how to shut down the iPad’s inbox and finally how to monitor the emails that students send out. To make this work, I recommend choosing “other”. You’ll see later why this is important. |
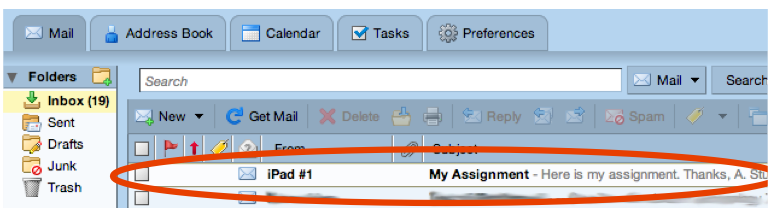
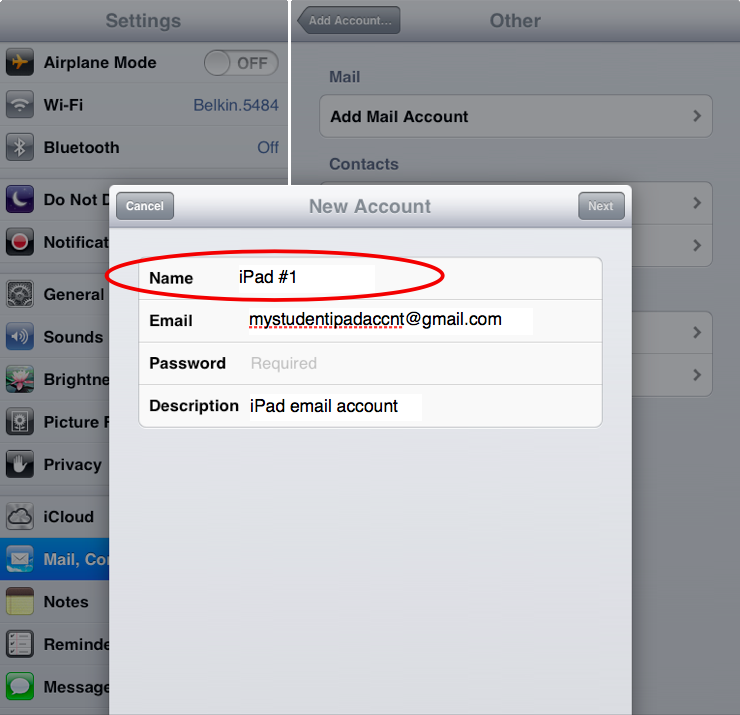
| When adding a mail account, you’ll always be asked for both a name and a description. The description is just for you, so it doesn’t matter what you put on that line. The name is for whoever is going to be receiving an email from that account, though. So, on the first iPad, you would enter the name “iPad #1”, or “Washington High iPad #1”. The recipient of any email coming from that device will see that name in the from section of the email. This way, you can be sure of knowing the origin of anything sent out from one of the schools’ devices. You can rest assured that any prank email can easily be tracked down to the student who signed out the device using the date stamp and the name on the email. |
 |
 *
*
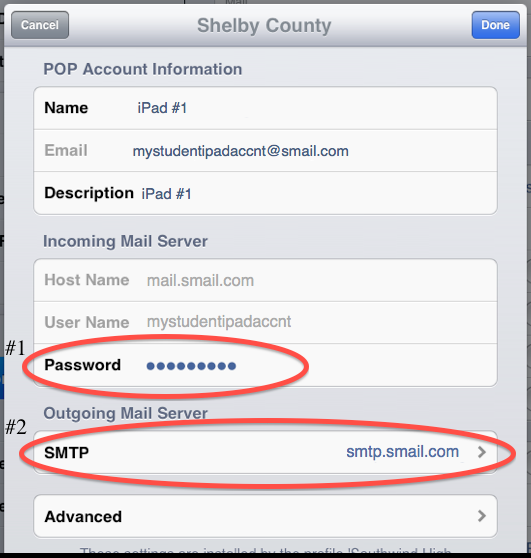
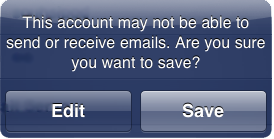
The next step is to make sure your students don’t get access to the iPad account’s inbox. When you first set up an email account on an iPad, the device is supposed to start showing you any emails you’ve received. Normally, that’s exactly what you want. In this case however, you want each iPad to send email but not recieve it. This is going to take two steps.
First, delete the account password and enter in something random. This is going to prevent the iPad from receiving any emails from this account. Second, enter in the account username and password in the “Outgoing Mail Server” section. That will give the iPad the ability to send mail through the iPad email account.
|  |
| The last step is going to allow you to monitor the emails that students send out. In the student iPad email settings, turn on “Always Bcc Myself”. This the only way you’ll be able to keep a record of which email was sent from which device. While you do have the sent folder in the email account you set up, that cannot tell you from which device it came. That bit of information is only going to be recorded if the student account receives a copy of the email. Be careful here. In many cases, you’ll have a email account quota. If you have hundreds of students emailing from these devices, you’ll reach that quota pretty quickly. It would be wise to get an account with a substantial quota limit like Gmail. | 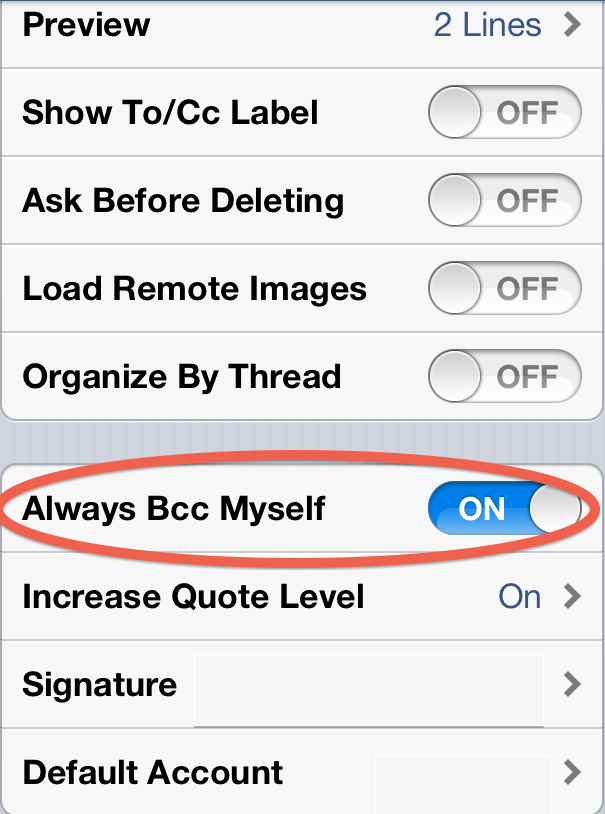 * * |
That’s it. You should now have a set of devices that can send out pictures, PDF’s and other items while still being relatively secure.
No comments:
Post a Comment
What do you think? Please share your ideas.